08. Udacity GPU Workspace Introduction
## Introduction
Udacity Workspaces with GPU support are available for some projects as an alternative to manually configuring your own remote server with GPU support. These workspaces provide a Jupyter notebook server directly in your browser. This lesson will briefly introduce the Workspaces interface.
Important Notes:
- Workspaces sessions are connections from your browser to a remote server. Each student has a limited number of GPU hours allocated on the servers (the allocation is significantly more than completing the projects is expected to take). There is currently no limit on the number of Workspace hours when GPU mode is disabled.
- Workspace data stored in the user's home folder is preserved between sessions (and can be reset as needed, e.g., to get project updates).
- Only 3 gigabytes of data can be stored in the home folder.
- Workspace sessions are preserved if your connection drops or your browser window is closed, simply return to the classroom and re-open the workspace page; however, workspace sessions are automatically terminated after a period of inactivity. This will prevent you from leaving a session connection open and burning through your time allocation. (See the section on active connections below.)
- The kernel state is preserved as long as the notebook session remains open, but it is not preserved if the session is closed. If you exit the notebook for more than half an hour and the session is closed, you will need to re-run any previously-run cells before continuing.
Overview
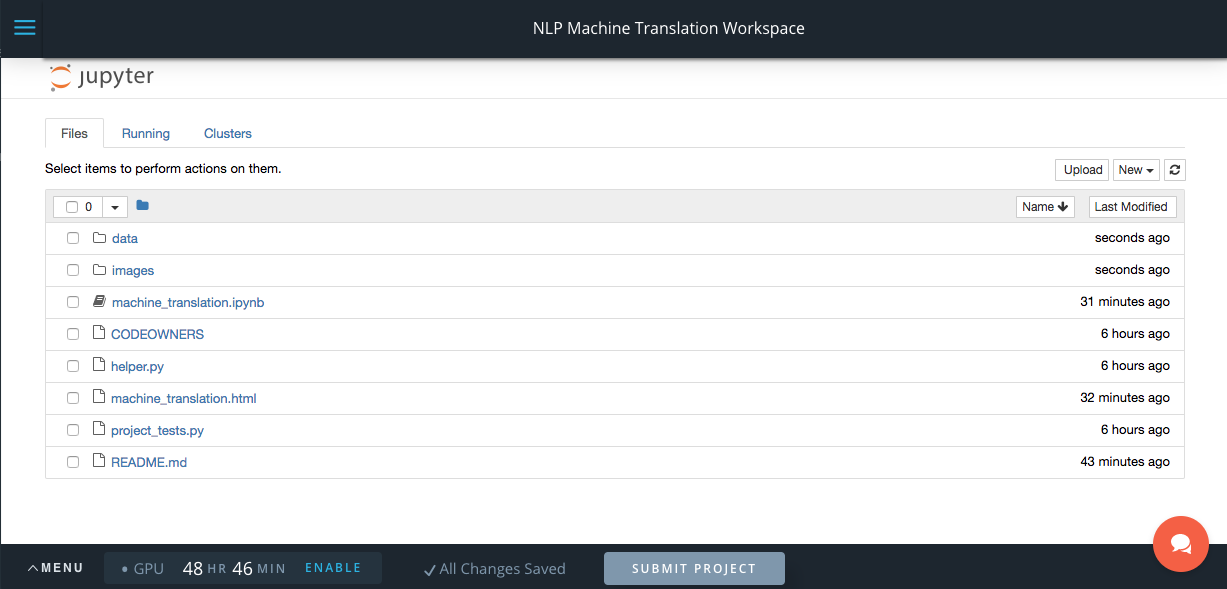
When the workspace opens, you'll see the normal Jupyter file browser. From this interface you can open a notebook file, start a remote terminal session, enable the GPU, submit your project, or reset the workspace data, and more. Clicking the three bars in the top left corner above the Jupyter logo will toggle hiding the classroom lessons sidebar.
NOTE: You can always return to the file browser page from anywhere else in the workspace by clicking the Jupyter logo in the top left corner.
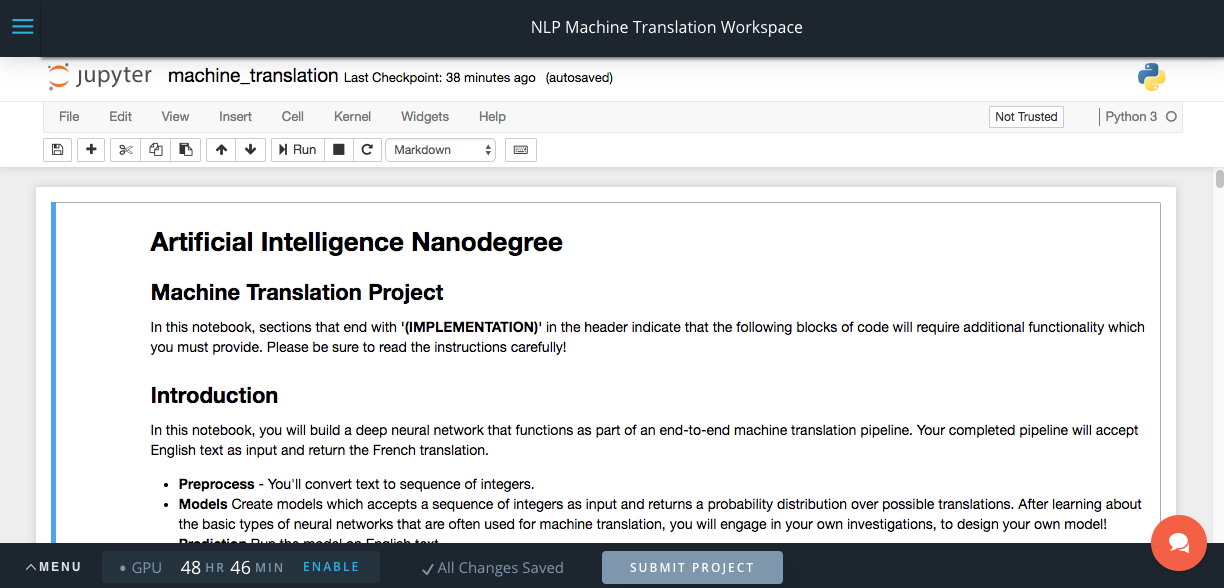
Clicking the name of a notebook (*.ipynb) file in the file list will open a standard Jupyter notebook view of the project. The notebook session will remain open as long as you are active, and will be automatically terminated after 30 minutes of inactivity.
You can exit a notebook by clicking on the Jupyter logo in the top left corner.
NOTE: Notebooks continue to run in the background unless they are stopped. IF GPU MODE IS ACTIVE, IT WILL REMAIN ACTIVE AFTER CLOSING OR STOPPING A NOTEBOOK. YOU CAN ONLY STOP GPU MODE WITH THE GPU TOGGLE BUTTON. (See next section.)
Enabling GPU Mode
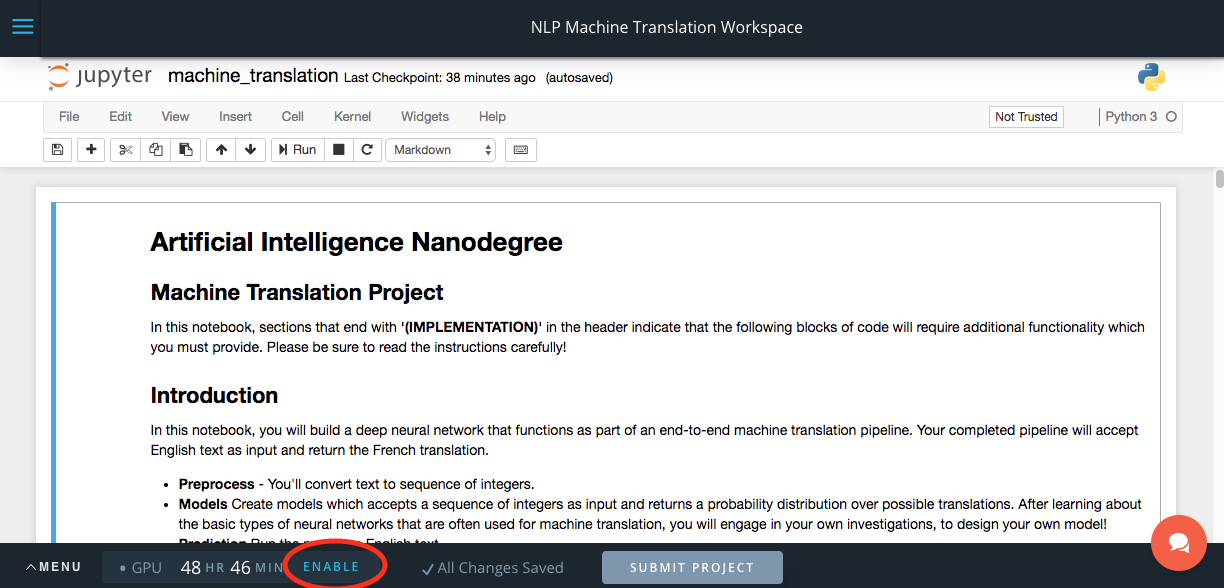
GPU Workspaces can also be run without time restrictions when the GPU mode is disabled. The "Enable"/"Disable" button (circled in red in the image) can be used to toggle GPU mode. NOTE: Toggling GPU support may switch the physical server your session connects to, which can cause data loss UNLESS YOU CLICK THE SAVE BUTTON BEFORE TOGGLING GPU SUPPORT.
ALWAYS SAVE YOUR CHANGES BEFORE TOGGLING GPU SUPPORT.
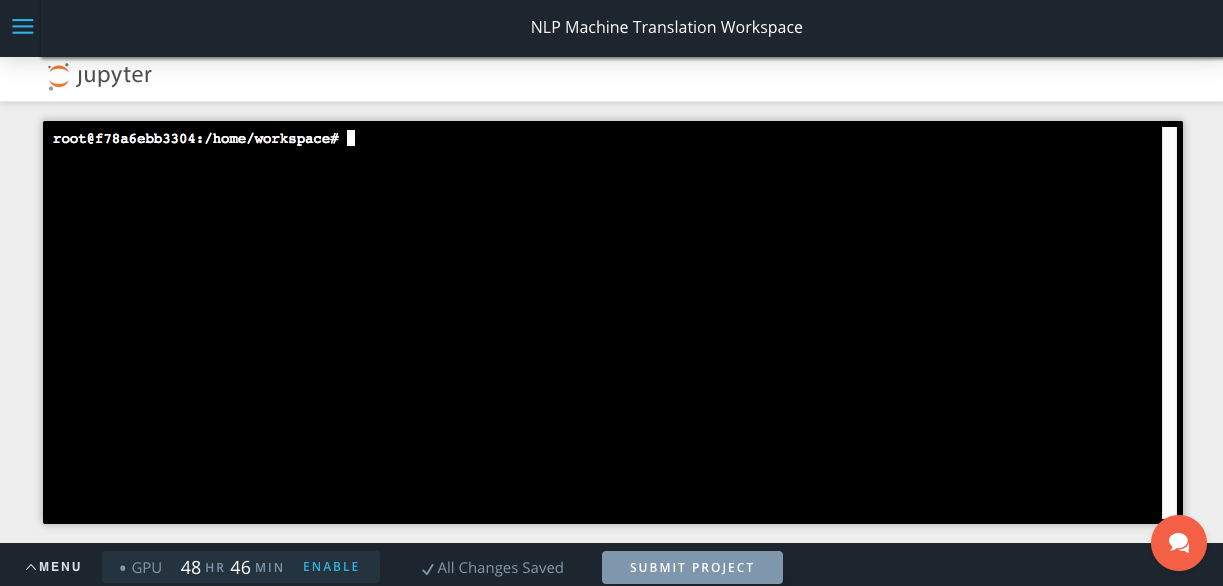
Terminal
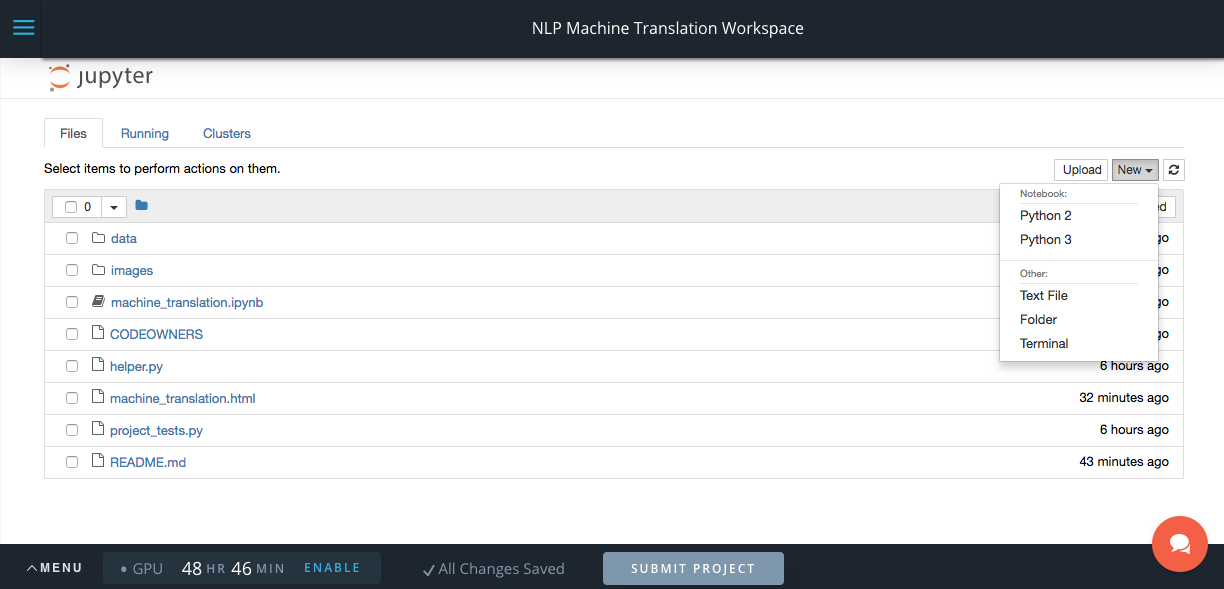
Jupyter workspaces support several views, including the file browser and notebook view already covered, as well as shell terminals. To open a terminal shell, click the "New" menu button at the top right of the file browser view and select "Terminal".
Terminals provide a full Bash shell that you can use to install or update software packages, fetch updates from github repositories, or run any other terminal commands. As with the notebook view, you can return to the file browser view by clicking on the Jupyter logo at the top left corner of the window.
NOTE: Your data & changes are persistent across workspace sessions. Any changes you make will need to be repeated if you later reset your workspace data.
Upload Files
Currently, Jupyter Notebook only supports single file uploading. You could zip your dataset and upload it to the Workspace, then use unzip in terminal window to unzip it.